By Jasmine Cole, cross-stitch designer and stitcher ·
How to Read a Cross Stitch Pattern (Without Getting Lost)
The first time you unfold a counted chart, it can look like a crossword puzzle designed by a mathematician. Hundreds of tiny squares, a dozen unfamiliar symbols, numbers running along the edges. I remember staring at my first sampler chart and wondering how anyone turned that into a picture.
Then someone showed me the trick: you never read the whole chart. You read one 10 by 10 block at a time, one symbol at a time. Within an evening the grid stopped being noise and became directions. This article walks through every element of a chart in the order you will actually use them, so your first counted project feels like following a recipe instead of decoding a cipher.
What a Chart Actually Shows
This one-to-one rule is why counted cross stitch produces such precise results compared with freehand embroidery. There is no interpretation involved. If the chart shows a bird's wing occupying 14 squares, your stitched wing will occupy 14 squares of fabric, every single time.
It also means the chart controls the finished size only in squares, not inches. The fabric count does the converting, which is worth understanding before you pick a kit from our counted cross stitch kits collection.
The size formula: design width in squares divided by fabric count equals finished width in inches. A chart 220 squares wide works out to 15.7 inches on 14-count aida (220 / 14) but only 12.2 inches on 18-count (220 / 18). We print the finished dimensions for every count on each CozyCross kit page, so you never have to do this math at checkout.
Symbols and the Floss Legend
Symbols are deliberately high-contrast shapes: dots, triangles, hearts, arrows, letters. Designers choose them so that neighboring colors look obviously different on paper even when the actual floss shades are close, like two nearby greens in a leafy border.
The legend is also your shopping list and your inventory. In every CozyCross kit the floss arrives pre-sorted on labeled organizers keyed to the legend, a detail our customers mention often in their reviews. If you are stitching from a magazine chart instead, pull every color first and label them yourself before the first stitch. Five minutes of sorting saves hours of squinting at similar shades.
Finding the Center
Beginners sometimes ask why they cannot just start in a corner. You can, but you are gambling: miscount the margin once and the whole design slides off the edge of the fabric. Starting at the center makes that impossible, because the design grows outward evenly in all directions.
Work your first stitches on the color that occupies the center square, then build neighboring areas from there. Each new block of stitches anchors against ones you have already placed, so counting errors stay small and local. Skipping this habit is one of the classic beginner cross stitch mistakes that turns a relaxing evening into an unpicking session.
The 10 by 10 Grid
Treat each 10 by 10 block as a mini-project. Finish the block, check it against the chart, move to the next. If a mistake slips in, it is contained inside a 100-stitch area instead of rippling across the design, and you will find it within minutes rather than rows.
The numbered edges also let you talk about any square by coordinates, the same way map references work. That becomes surprisingly useful when you set a project down for two weeks and need to find exactly where you left off.
stitchers responded to the international survey behind the most cited research on needlecraft and wellbeing, which linked stitching frequency to feeling calm and happy
— Riley et al., British Journal of Occupational Therapy, 2013
Fractional Stitches, Backstitch, and Other Marks
Fractional stitches appear mostly in curved details like petals and beaks, where a full square would look blocky. A small symbol tucked into a corner of a square means a quarter stitch worked from that corner into the center.
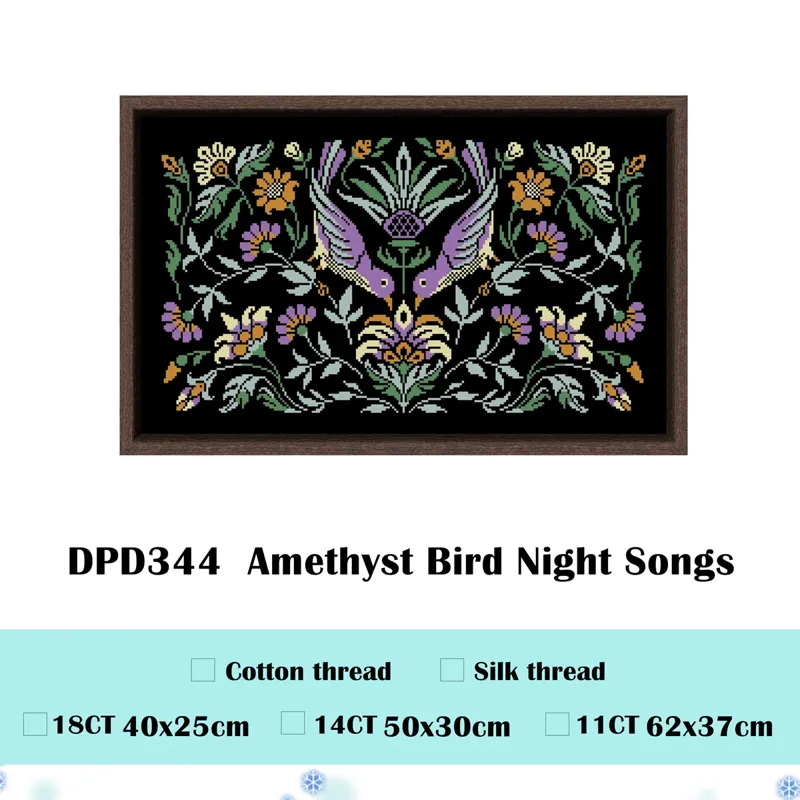
Backstitch is always the finishing pass. The chart draws it as unbroken lines running across or diagonally through squares, and you stitch it after every cross in that area is complete. On a design like our Night Songs birds, the difference before and after the outline pass is dramatic: wings and stems suddenly snap into focus.
If reading all of this makes you want a gentler on-ramp, that is a legitimate choice too. Stamped cross stitch kits print the design directly on the fabric so there is no chart to follow at all, and I compare the two styles honestly in stamped vs counted cross stitch.
Keeping Your Place
Never mark your only original chart if you can avoid it; work from a copy and keep the original clean. Some stitchers grid their fabric to match, running removable thread lines every ten squares so the fabric and the chart carry the same reference marks. It takes twenty minutes and pays for itself on any design bigger than a coaster.
If you are brand new to the craft, start with the fundamentals in my complete beginner's guide to cross stitch, then come back to charts when your first kit arrives. And if you want a first chart that is genuinely forgiving, the small motifs in our cross stitch kits for beginners keep the counting light while you build the habit.
Chart FAQ
What do blank squares on the chart mean?
A blank square means no stitch. The fabric shows through in that spot, which is how designs get their background. Never fill blank squares unless the legend specifically lists a background color.
Do I stitch the backstitch outlines first or last?
Always last. Backstitch sits on top of the completed crosses, so finish every cross stitch in an area first, then add the outlines with the number of strands the legend calls for.
What does DMC mean in the floss legend?
DMC is the best-known brand of embroidery floss, and its numbering is the industry standard. When a legend lists DMC 310, that is a specific shade (black). Kits include either DMC floss or cotton floss matched to DMC numbers.
What if two symbols share one square?
A split square usually means fractional stitches: two colors each take part of the square as quarter or three-quarter stitches. The chart key explains which color takes which corner.