By Jasmine Cole, cross-stitch designer and stitcher ·
How to Cross Stitch: A Complete Beginner's Guide
Cross stitch is one of the friendliest crafts you can pick up as a complete beginner. There is no freehand drawing, no guesswork, and no expensive equipment. The chart tells you exactly where every stitch belongs, so your job is simply to follow it, one small X at a time, until a picture appears on the fabric.
That predictability is also why the craft is so relaxing. The motion repeats, your hands stay busy, and your mind gets to slow down. In this guide I will walk you through the same steps I teach anyone stitching for the first time: gathering supplies, understanding fabric counts, reading a chart, forming your first crosses, and keeping your thread tidy from start to finish.
What You Need to Start
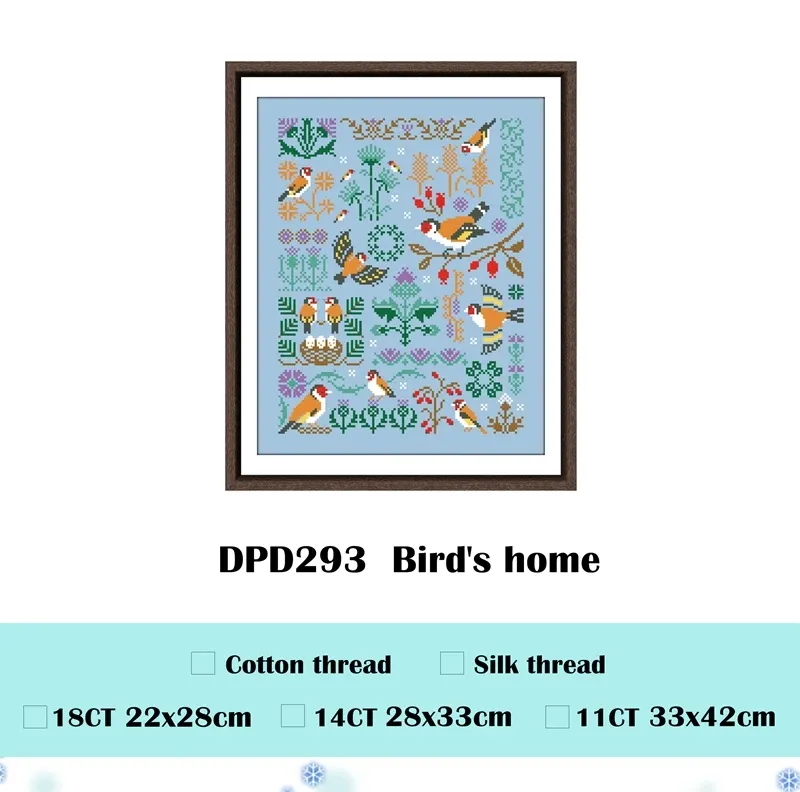
Aida is the standard beginner fabric because its weave forms an obvious grid of squares, each with a clear hole at every corner. Embroidery floss comes in six-strand skeins that you separate before stitching. Tapestry needles have rounded tips on purpose: they slide into the existing holes instead of piercing the fabric.
If you buy everything individually, expect to spend more than a bundled kit costs and to do the sorting yourself. Our beginner cross stitch kits arrive with the floss already organized by color code, which removes the single most tedious part of setup. If you would rather compare options across the market first, I wrote an honest overview of where to buy cross stitch kits, including shops we do not sell through.
Understanding Fabric Counts
Count changes two things: how big each cross is, and how big the finished design turns out. The same chart shrinks as the count rises because every cross occupies one fabric square. Here is what that means in practice:
| Fabric count | Crosses per inch | Size of one cross | Best for |
|---|---|---|---|
| 11-count aida | 11 | about 2.3 mm | First projects, fast coverage, easier on the eyes |
| 14-count aida | 14 | about 1.8 mm | The beginner standard; most kits use it |
| 16-count aida | 16 | about 1.6 mm | Finer detail with a denser, smoother look |
| 18-count aida | 18 | about 1.4 mm | Small, crisp crosses for confident stitchers |
Real example from our own line: the Night Songs folk bird chart in our counted cross stitch kits collection stitches up at roughly 19.7 by 11.8 inches on 14-count black aida, but only 15.7 by 9.8 inches on 18-count. Same chart, same stitches, two very different framed sizes. Always check the finished dimensions for your chosen count before you commit.
Strand count follows fabric count. On 11-count, most stitchers use three strands of floss for good coverage. On 14-count, two or three strands work well. On 16 and 18-count, two strands is typical, and some charts call for just one in detailed areas.
Reading the Chart
You start reading from the center, because that is also where you start stitching. Fold your fabric in half twice, crease it lightly, and the intersection of the creases is your center point. Match it to the center arrows on the chart and you can never drift far off course.
Charts deserve their own lesson, so I broke the full walkthrough into a separate article on how to read a cross stitch pattern, covering symbols, the floss legend, and tricks for never losing your place. If counting from a chart sounds intimidating, know that there is also a chart-free option: pre-printed fabric. I compare both approaches in stamped vs counted cross stitch.
Making Your First Cross Stitch
Before that first stitch, prepare your thread. Cut a length of floss about 18 inches long, separate the number of strands your chart calls for, and thread them through the needle. Do not tie a knot. Instead, leave a one-inch tail at the back of the fabric and trap it under your first four or five stitches. The tail locks in place and the back stays flat.
If you are working with two strands, try the loop start: cut a single strand double length, fold it in half, thread the two cut ends through the needle, and pass the needle through the loop at the back after your first half stitch. It is the cleanest start there is.
Keep your tension relaxed. The stitch should lie flat on the fabric without dragging the square out of shape. Pulling too tight is the most common early habit, and it is one of the beginner cross stitch mistakes that shows in the finished piece.
Stitching Rows the Efficient Way
The alternative, completing each X before moving on, is called the English method. It is slightly sturdier and better for scattered single stitches, but slower across solid blocks. Most stitchers mix both: two passes for rows and areas, complete crosses for isolated squares.
Whichever you choose, keep one rule sacred: every top leg of every X must slant the same direction across the entire piece. If your top stitches all run bottom-left to top-right, the finished surface catches light evenly and looks professional. Mixed directions create a patchy, shimmering effect you cannot fix without unpicking.
Half Stitches and Backstitch
Charts mark these clearly: half stitches usually appear as diagonal symbols or lighter shading, and backstitch as solid lines drawn over the grid. Backstitch always comes last, worked with fewer strands, usually one or two. It is astonishing how much a design sharpens once outlines go on. Faces, birds, and lettering come alive in the final hour of a project.
Managing Your Thread
Floss twists as you stitch, and twisted floss looks thin and ropey on the fabric. Every dozen stitches or so, drop the needle and let it spin free. Separating all six strands individually and then putting two back together also makes the strands lie flatter and cover better.
Kits vary a lot in how they handle floss. In every CozyCross kit the colors come pre-sorted and labeled to match the chart legend, and our folk bird kits include two needles, so a snapped or lost needle never stalls the project. You can read what stitchers say about the sorted floss in our customer reviews, and see the checks each kit goes through on our how we test page.
stitchers took part in an international survey that found a significant link between needlecraft frequency and feeling calm and happy
— Riley et al., British Journal of Occupational Therapy, 2013
Finishing and Washing Your Piece
Washing is the step beginners skip most often, and the one that most improves the final look. Months of handling leave invisible oils that yellow over time. A five-minute bath keeps whites white and makes the floss bloom slightly, filling out the coverage.
Cross stitch is not a small niche, either. You are joining a genuinely large craft community, from centuries of samplers to some of the most active needlework forums on the internet.
estimated annual size of the US creative products industry, the market that includes needlearts like cross stitch
— Association For Creative Industries, Size of the Industry Study, 2017
Beginner FAQ
Do I need a hoop to cross stitch?
No, a hoop is optional. Many stitchers work "in hand" on aida because the fabric is stiff enough to hold its shape. A hoop helps keep tension even, which is useful at the start, but plenty of experienced stitchers never use one.
How long does a first project take?
It depends on design size and your pace. A small motif can be finished over a few relaxed evenings, while a full sampler is a project you return to for weeks. Most beginners find the rhythm within their first hour of stitching.
Should I knot my thread when I start?
No. Knots create bumps that show once the piece is framed. Hold a short tail against the back and catch it under your first few stitches, or use a loop start when stitching with two strands.
Can I wash a finished cross stitch piece?
Yes. Hand wash gently in cool water with a drop of mild soap, rinse well, and never wring the fabric. Roll it in a clean towel to press out water, dry flat, and iron face down on a soft towel.