By Jasmine Cole, cross-stitch designer and stitcher ·
10 Beginner Cross Stitch Mistakes (and How to Avoid Them)
Here is the reassuring truth about beginner mistakes: I have made all ten of the errors in this article, some of them repeatedly, and every stitcher I know can say the same. None of them ruined a project beyond saving, but each one cost me time or polish that a thirty-second warning would have spared.
Consider this article that warning. These are the ten problems I see most often when new stitchers show me their first finished pieces, ranked roughly in the order you will meet them, from the first thread you cut to the day you frame the result. Skim the fixes now, and come back when a symptom shows up on your fabric.
1. Starting with a knot
This is the first habit to break because it is invisible until the very end. The piece looks fine in your hands, then goes under framing glass and every knot becomes a small hill. Flat starts cost nothing once they are muscle memory; my beginner's guide to cross stitch shows both techniques step by step.
2. Stitching with all six strands
Separating strands and recombining them also makes the floss lie flatter and cover better, because the strands sit side by side instead of twisting as one cord. It feels fussy for the first week and automatic forever after.
3. Letting top stitches slant both ways
This is the single most visible beginner mistake, and the cruelest, because you usually notice it only after hundreds of stitches. If you set a project down for a few weeks, restart by copying the slant of your existing stitches, not from memory.
4. Pulling every stitch too tight
Tension usually comes from concentration, not intention, which is why it improves on its own once the mechanics feel comfortable. A hoop helps in the early weeks by holding the fabric taut so your hands do not have to.
5. Starting in a corner
Center starts make edge-of-fabric disasters structurally impossible, since the design grows outward evenly. The center arrows are one of several chart conventions that stop feeling cryptic once someone explains them; I cover them all in how to read a cross stitch pattern.
6. Cutting floss too long
Quick math: a standard 8.7-yard skein of cotton floss yields about seventeen 18-inch working lengths, and each length is six strands you will split further. Even generous cutting leaves far more floss than most charts need, which is why quality kits can include margin without ballooning in price.
7. Ignoring the 10 by 10 grid
The grid is the difference between counted stitching feeling stressful and feeling like a puzzle you are always winning. Stitchers who grid their fabric with removable thread every ten squares get the same insurance physically sewn onto the cloth.
8. Dragging floss across empty fabric
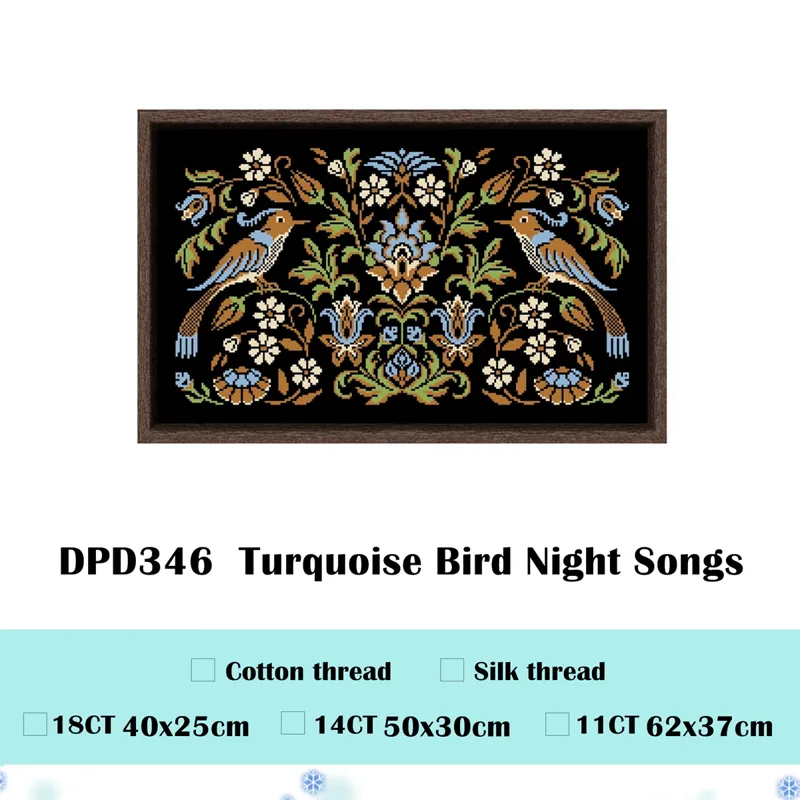
The reverse also matters: on dark cloth, like the black aida of our counted cross stitch kits in the Night Songs series, light floss jumps are the ones that ghost through. The rule is the same in both directions, keep the back as intentional as the front.
9. Stitching with lotion on and skipping the wash
The final wash is the cheapest upgrade in this craft: floss blooms slightly, hoop marks relax, and whites stay white for decades instead of years. It takes five minutes plus drying time, and it is the step most first projects never get.
10. Choosing a first project that is too big
Abandoned first projects are the quiet reason many people think cross stitch "was not for them." Start with a small motif from our cross stitch kits for beginners, or remove the counting variable entirely with a printed design; the tradeoffs are covered in stamped vs counted cross stitch. Real finish rates are also why we stitch a full sample of every design before selling it, as described on our how we test page, and why the photos in our customer reviews are of completed pieces, not just kits in bags.
Whatever you pick, remember the scale of the company you are in. Needlecraft is a giant, well-studied hobby, not a niche you have to figure out alone.
annual size of the US creative products industry, the market that includes cross stitch and other needlearts
— Association For Creative Industries, Size of the Industry Study, 2017
Fixing mistakes FAQ
How do I fix a counting mistake?
Measure how far the error spread first. If the misplaced stitches sit within one 10 by 10 block, unpick just that area with the needle tip, restitch, and move on. Only unpick larger sections when the error shifts everything stitched after it.
Can I save fabric that looks warped or dented?
Usually yes. A cool hand wash relaxes the fibers, and drying flat under light tension squares the weave back up. Iron face down on a thick towel. Permanent distortion only happens with extreme tension held over a long time.
Is it wrong to mix the English and Danish methods?
No. Mixing is normal practice: rows go faster in two passes, scattered single stitches suit complete crosses. The only rule that affects the finished look is keeping every top leg slanted the same direction.